Hollow wall anchors are essential for mounting shelves, TVs, and other fixtures on plasterboard, drywall, or other hollow walls. Unlike regular screws, they expand behind the wall to create a secure hold, preventing sagging or detachment over time. Follow these steps for a strong and reliable installation.
Step 1: Gather Your Tools and Materials
- Hollow wall anchors (toggle bolts or self-drilling anchors)
- Screwdriver or drill
- Level and measuring tape
- Pencil for marking
- Stud finder (optional)
Step 2: Choose the Right Type of Anchor
- Plastic Expansion Anchors – Good for light loads, easy to install.
- Self-Drilling Anchors – Best for quick installation without pre-drilling.
- Toggle Bolts – Ideal for heavy-duty shelving, providing extra strength.
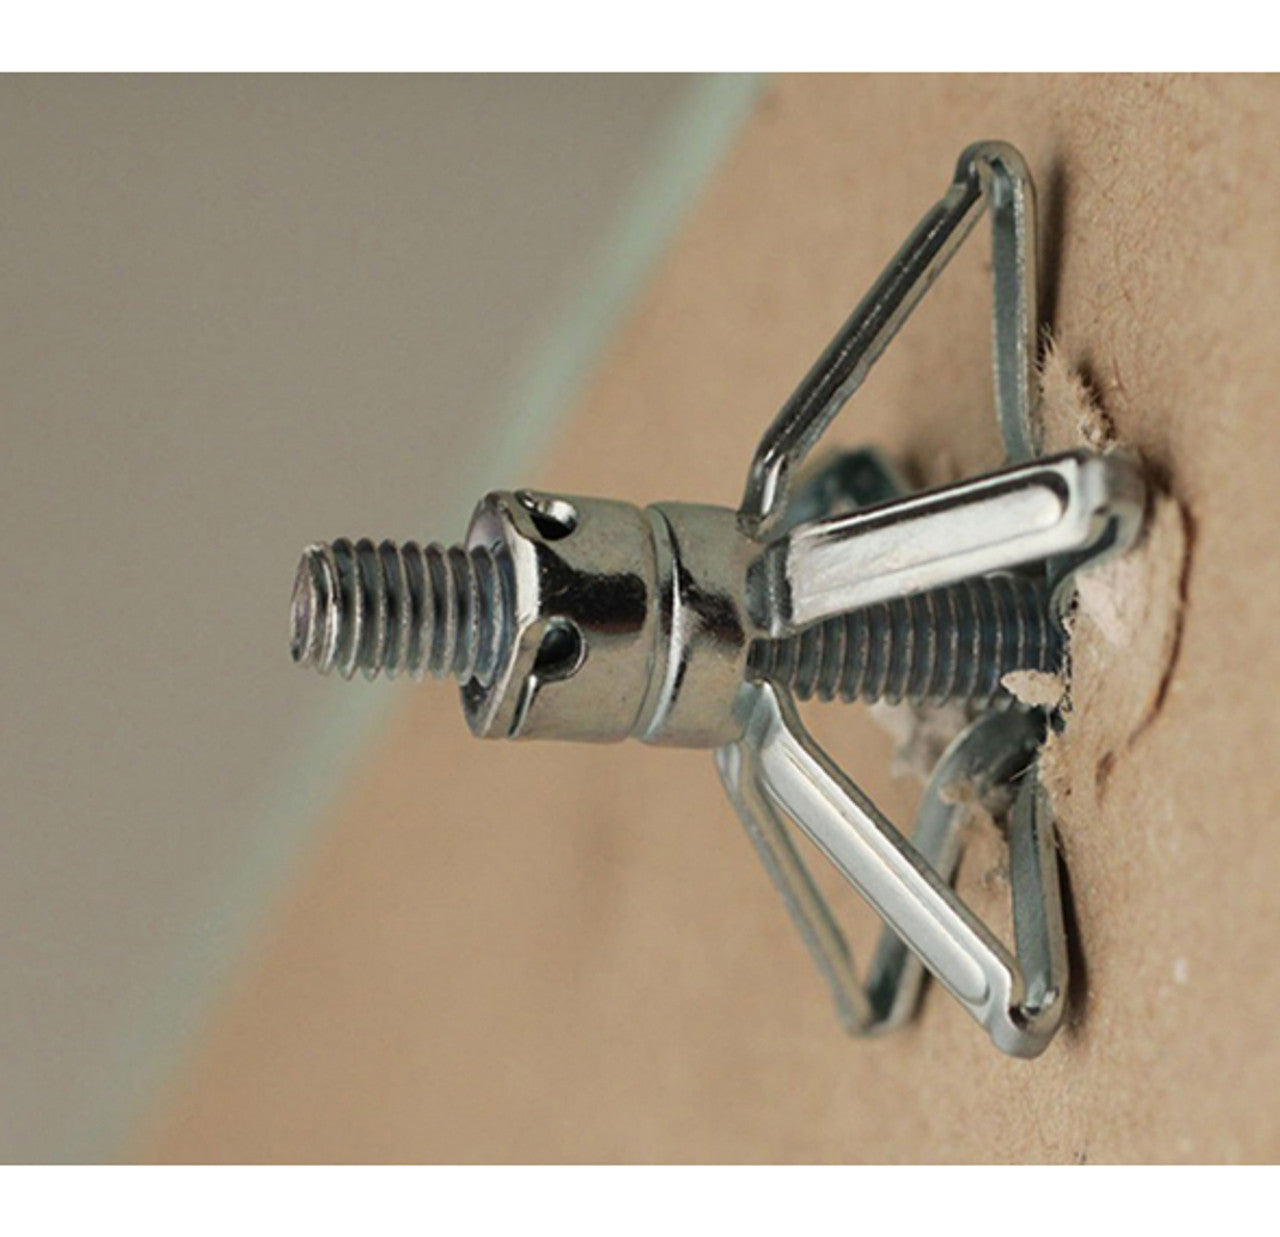
- Molly Bolts – Expand behind the wall for a secure, load-bearing hold.
Step 3: Mark Your Mounting Points
- Use a level and measuring tape to ensure proper shelf placement.
- Mark the exact drilling points with a pencil.
- Avoid areas with electrical wiring or plumbing by using a stud finder or multi-scanner.
Step 4: Install the Hollow Wall Anchors
-
For Plastic Expansion Anchors & Molly Bolts:
- Drill a pilot hole slightly smaller than the anchor.
- Insert the anchor and gently tap it flush with the wall using a hammer.
- Screw into the anchor until it expands behind the wall.
-
For Toggle Bolts:
- Drill a hole large enough to fit the folded toggle.
- Insert the toggle bolt through the mounting hole.
- Tighten the screw while pulling back slightly, allowing the toggle to grip the back of the wall.
Step 5: Mount the Shelf Brackets or Hardware
- Align the brackets with the installed anchors.
- Insert and tighten screws into the anchors to secure the brackets firmly.
- Ensure everything is level before moving on.
Step 6: Install the Shelf and Test Stability
- Place the shelf onto the brackets and fasten it if required.
- Apply gentle pressure to check for movement.
- If the shelf feels loose, double-check anchor installation and tighten screws as needed.
Pro Tip: For heavier shelves, distribute weight using multiple anchors and position at least one fixing into a wall stud for added security.